
I once again found myself in desperate need of another project, one that wouldn't put any undo pressure on my healing back.
I noticed these all over Pinterest for parties or over cribs or beds. Though its not my personal style, it's perfect for Punkin Pie. Very princess-y.
So I decided to track down a pin on how to make them. Took forever but I finally found one here...
I've documented one of the ones i made to go over Punkin Pie's bed below.

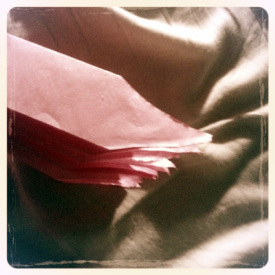
Choose some tissue paper you like. I'm using a sparkly pearl pink tissue paper I found for a buck at Target. Perfect for Punkin Pie. You will need at least 8 sheets of paper for a larger Pom-Pom, at least five for a smaller version.

Cut your tissue to desired size. Or leave as is for a larger Pom-Pom. Aim for squarish, but it doesn't need to be perfect. A couple inches difference between width and height is fine.

Begin folding your tissue accordion style. You are aiming for a one inch folded strip when you're done.

Continue folding until you reach the end of your paper.

It should look fan-esque.
Trim the edges into whatever shape you like. I went pointy here, but rounded is a tad more traditional and a bit softer. I've got examples of both finished projects below.

Fold in half to find the center. Crease it so it's easy to find.

Tie a string around the strip and center it on the crease you made.

In order to make your finished product a bit fluffier and easier to manipulate, trim down about an inch on each of the folds.
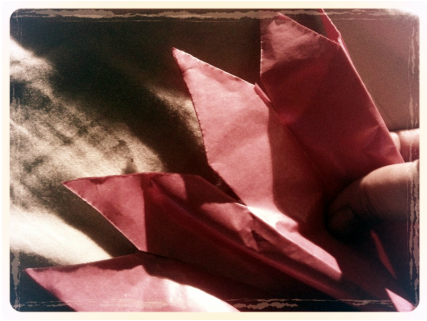
Note the slits on each of the folds.
Fan out one of the sides. Begin separating each layer of tissue paper and fluffing it.

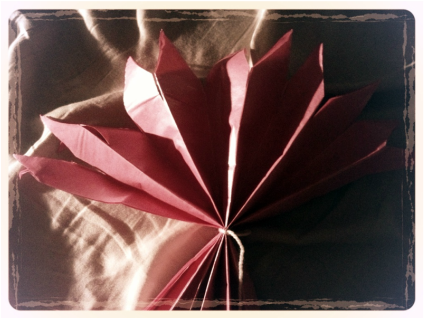
Continue to pull each layer of tissue apart. Separate the tissue all the way down to the center in or to get a fuller look. When you have separated each piece, fluff your Pom-Pom to fill in any obvious holes.

Enjoy your work! Above is the pointed version. Below is the softer rounded version.

Punkin Pie adores looking at the one already hung above her bed, and is thrilled that I will soon be adding more.
 RSS Feed

